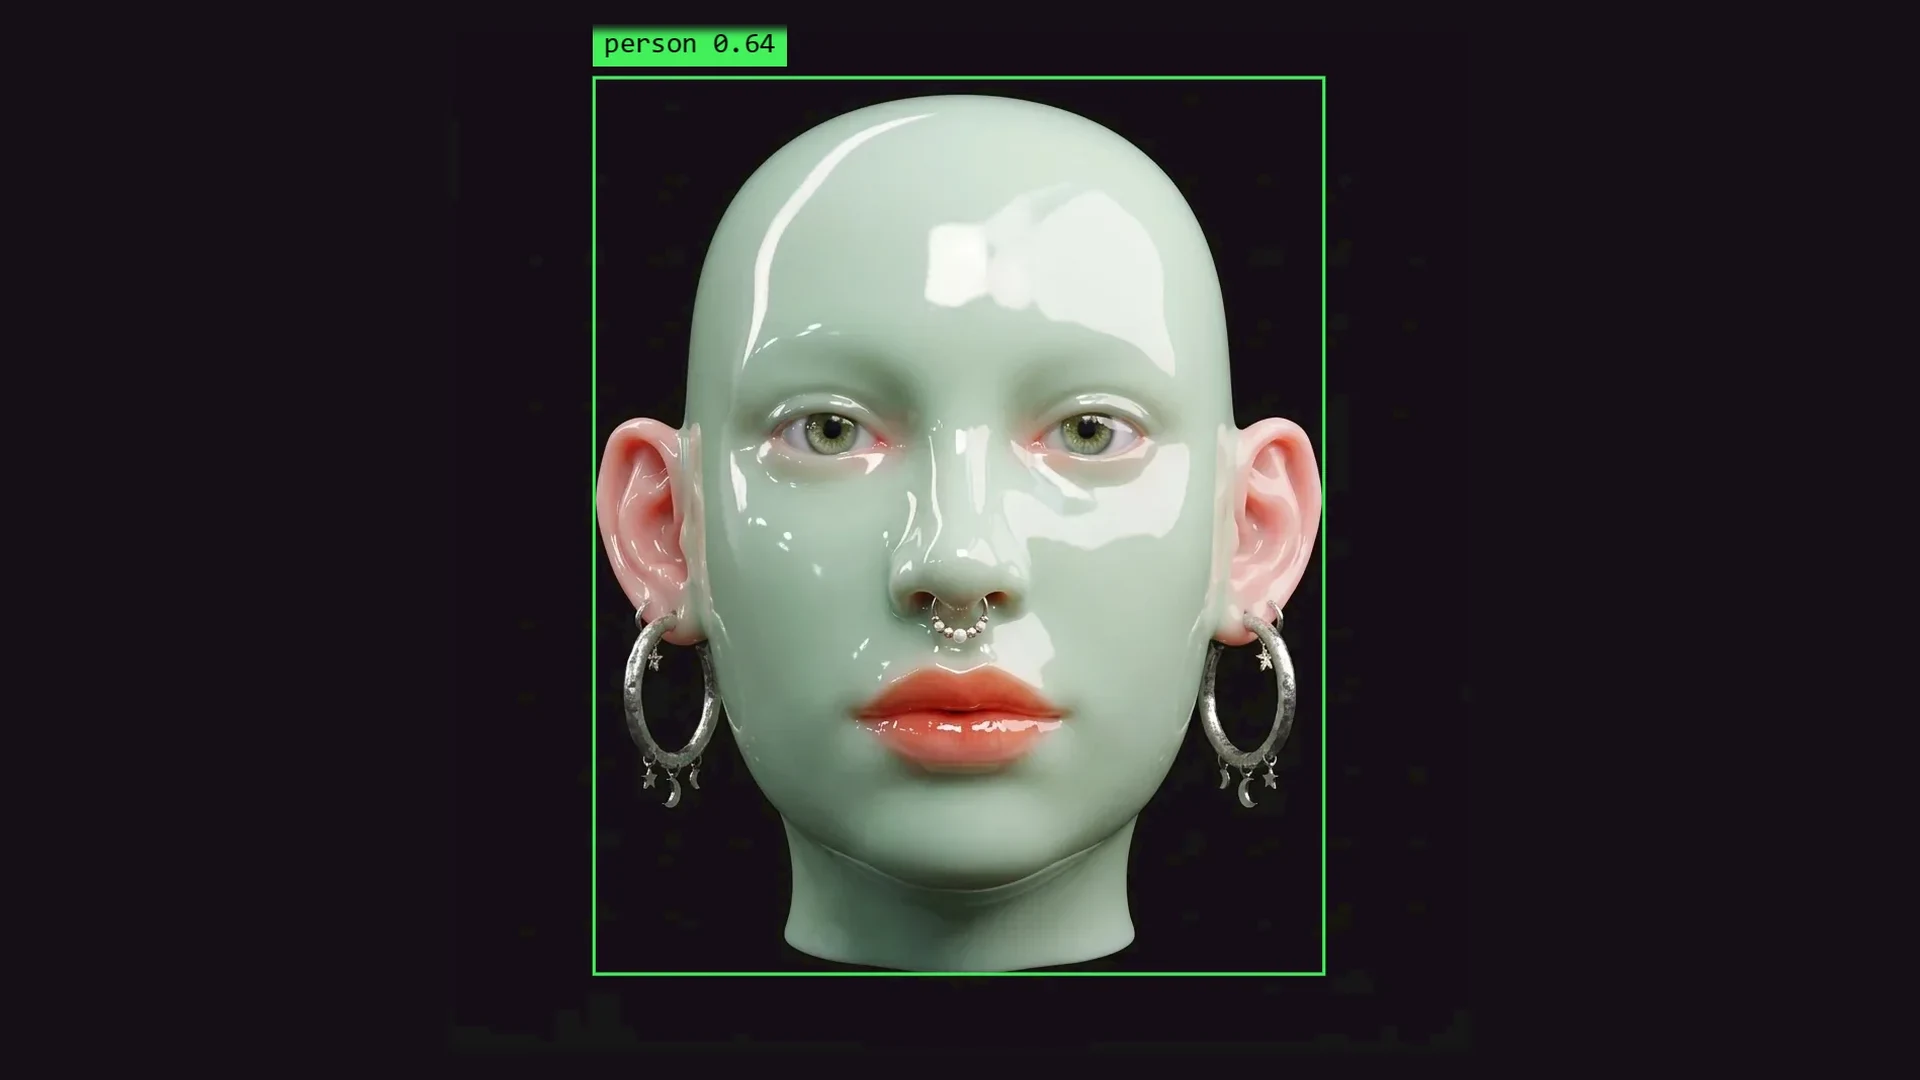
A webcam is the easiest way to make visuals that react to a person. Wave a hand and the picture changes. Smile and the colors shift. Raise your arms and everything explodes. It turns a screen into something people want to play with.
All six ideas use Node mode in Dasca. The tracking runs on your own computer, and the camera picture is never uploaded.
1. Pinch to control anything
Add a Webcam and a Hand Track node. Hand Track gives you a Pinch value, from fingers apart to thumb and index together. Wire it into any setting: pixel size, blur, color, speed.
The quick way: right-click any setting and choose Drive with > Hand. The camera, the tracker and the wiring are added for you.
2. A face that paints the screen
Face Track follows 478 points on a face and outputs values like Mouth open, Smile, Blink and Turn. Wire Mouth open into a glitch amount, or Smile into the color palette. It makes great reaction videos and stream overlays.
3. A body made of dots
Body Track finds 33 points on up to four bodies. Draw them with Dots and Links over a dark background and you get a clean, moving stick figure, the classic look of motion-capture visuals. Perfect for dance videos and performance pieces.
4. Particles that flow around people
Use Person Mask to find people in the picture, and wire the mask into the Emit from input of a Swarm. Up to a million GPU particles are now born from people's bodies and drift away as they move. Wire it into Field instead, and the particles flow around them.
5. Motion that leaves trails
The Motion node shows where the picture moves. Use it as a mask so only moving parts get an effect, for example a heavy dither or a color shift. Still parts stay clean, moving parts glow.
6. A tracking overlay in real time
Blob Track finds bright, dark, moving or colored spots and keeps their ID while it follows them. Draw boxes and labels on top and you get the popular tracking overlay look live, not only on recorded video. Read What is blob tracking? for more on this look.
Take it on stage
- Record a take. A take records the camera once, so you can tune the graph on the same motion again and again, and export it frame by frame.
- Add sound. A Microphone node lets the visuals react to the room.
- Add a controller. MIDI In turns knobs and pads into values.
- Send it out. NDI Out sends the picture to other apps or computers on your network, for projection or streaming.
Before you start
- Good light matters more than a good camera. Face the light, not the window.
- A plain background makes masks and motion cleaner.
- Start with one tracker and one effect. Add more once it feels right.
See every tracker and output in the Live Input docs, or see what Node can do on the Node page. For tracking on recorded footage without Node, use the Blob Track effect.